
camera log
This is where i got to try out different camera skills and use different equipment-which helps towards filming the horror teaser trailer. By staking shots of the college was very helpful also due to the fact my trailers location is mostly in the college. ON this page not only videos will be revealed but pictures showing what we did. Overall it was very exciting and gained a lot from it.
the camera used...
The Canon EOS 600D Kit 18-55mm II has a user friendly design that makes photography easy. It comes with an APS-C sized,18-megapixel (effective) CMOS sensor and 14-bit DIGIC 4 image processor that capture fine quality images with smooth tonal gradation and reduced noise. The ISO 100-6400 sensitivity produces clear photos even in low light condition. The built-in wireless flash control gives user the option to use off-camera TTL flash without carrying extra accessories.
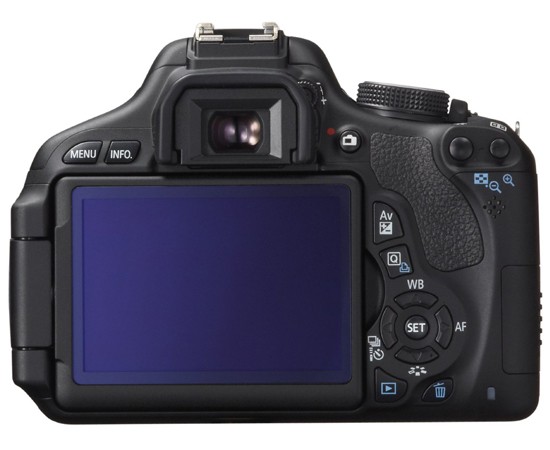
The Canon 600D comes with a built-in 3.0-inch 1040K-dot resolution clear view TFT LCD screen that provides 100% coverage. The Dual Anti-reflection and anti smudge features ensures amazing clarity making it easy for user to compose images. The Scene Intelligent Auto identifies and detects faces, brightness, color, distance, movement, and automatically selects the most suitable settings for the scene. Despite being very user friendly, it offers On-screen feature guide that helps user understand many of the camera’s functions.
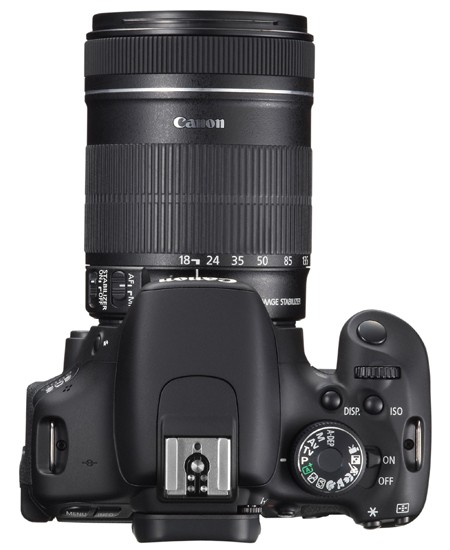
Other Features of Canon EOS 600D include 9 AutoFocus points, 1/4000 second shutter speed, Built-in Flash, Red-Eye Reduction, Continuous Shooting, 1080p Full HD video recording, Hi-Speed USB, Video output (PAL/ NTSC), HDMI mini output, Canon Compact Photo Printers and PIXMA Printers supporting PictBridge, SD/SDHC memory card support, multiple languages and Rechargeable Li-ion Battery.
The Canon 600D comes with a built-in 3.0-inch 1040K-dot resolution clear view TFT LCD screen that provides 100% coverage. The Dual Anti-reflection and anti smudge features ensures amazing clarity making it easy for user to compose images. The Scene Intelligent Auto identifies and detects faces, brightness, color, distance, movement, and automatically selects the most suitable settings for the scene. Despite being very user friendly, it offers On-screen feature guide that helps user understand many of the camera’s functions.
Other Features of Canon EOS 600D include 9 AutoFocus points, 1/4000 second shutter speed, Built-in Flash, Red-Eye Reduction, Continuous Shooting, 1080p Full HD video recording, Hi-Speed USB, Video output (PAL/ NTSC), HDMI mini output, Canon Compact Photo Printers and PIXMA Printers supporting PictBridge, SD/SDHC memory card support, multiple languages and Rechargeable Li-ion Battery.
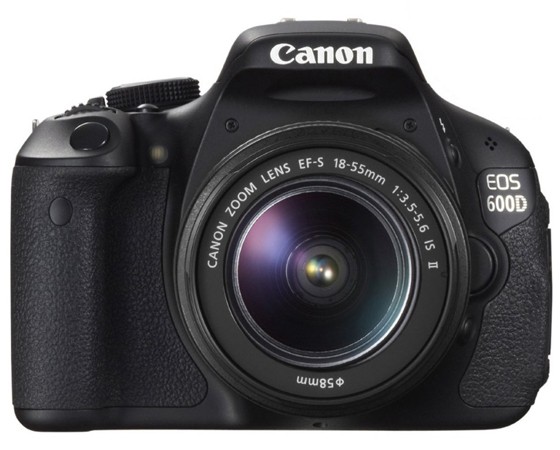
Front of the camera
|
|
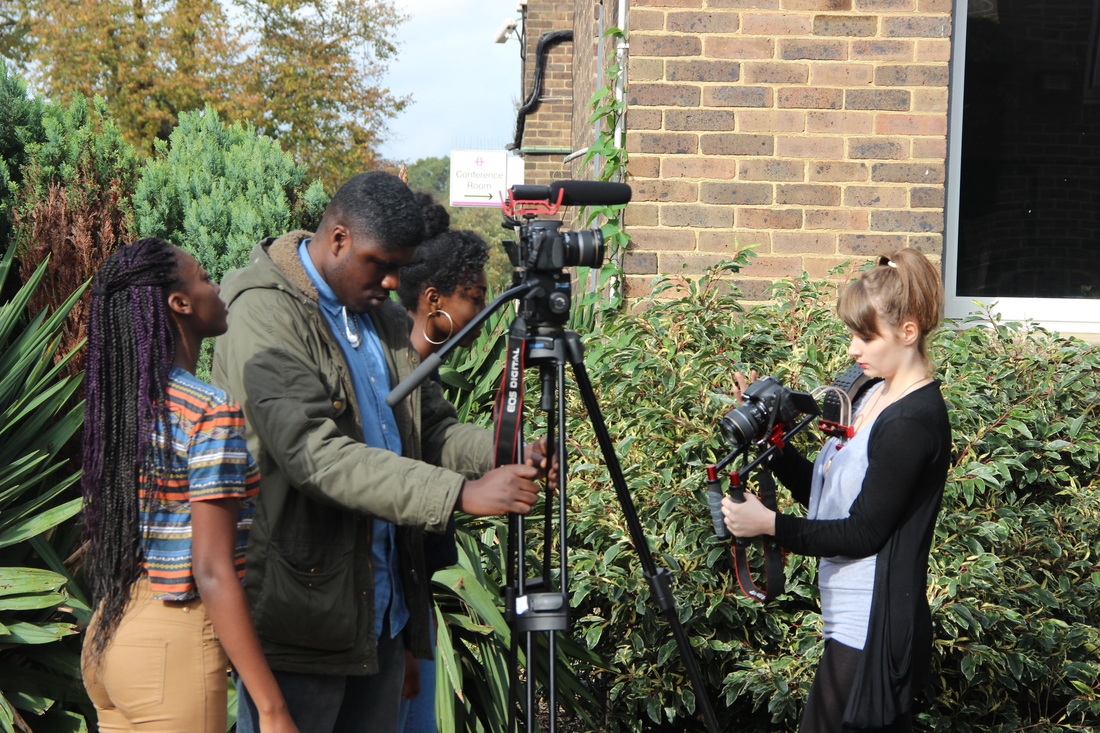
diary logs
This is is where as a group of the camera team we inform you of when we were filming, what equipment we have been using on that day and even show you at least one piece of the equipment we used which will be held in a persons hand. We videoed in varied locations-indoors and outside which is revealed in the videos.
|
14th october...
|
16th october...
|
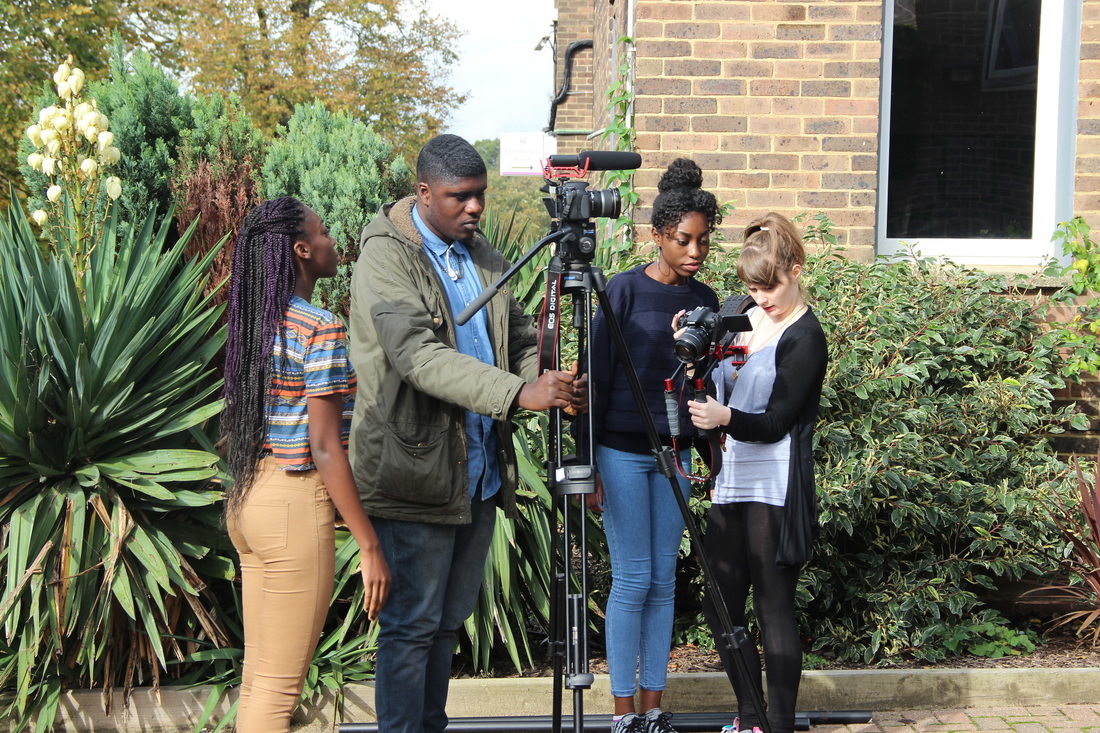
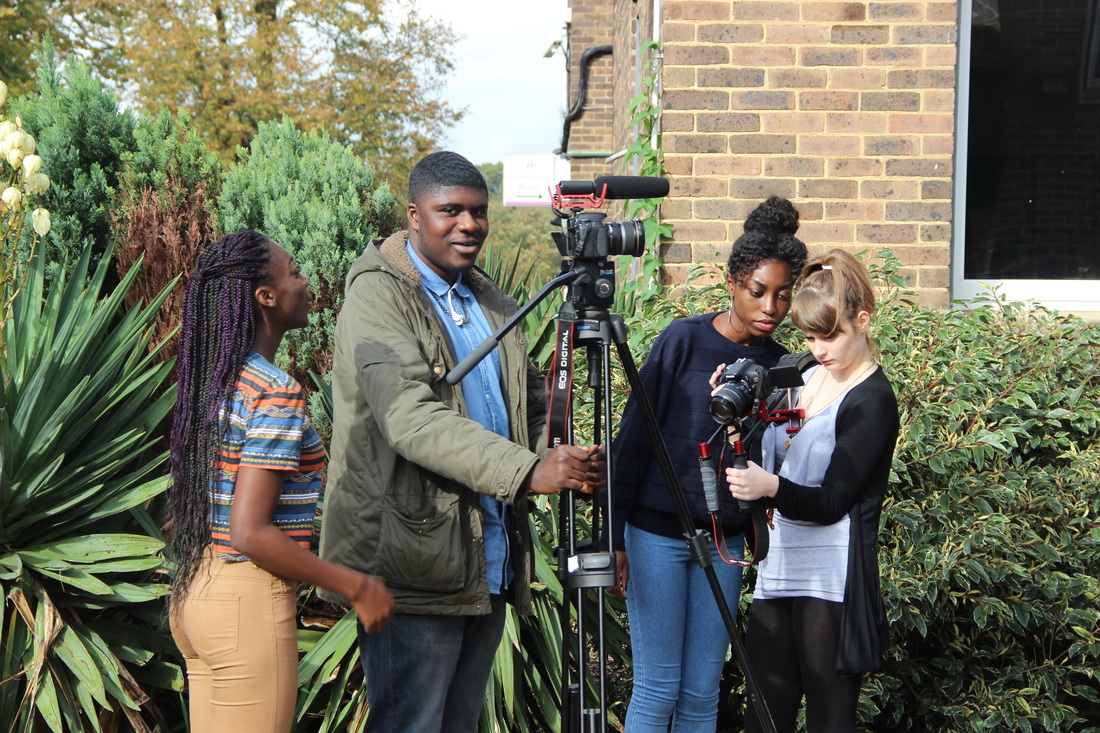
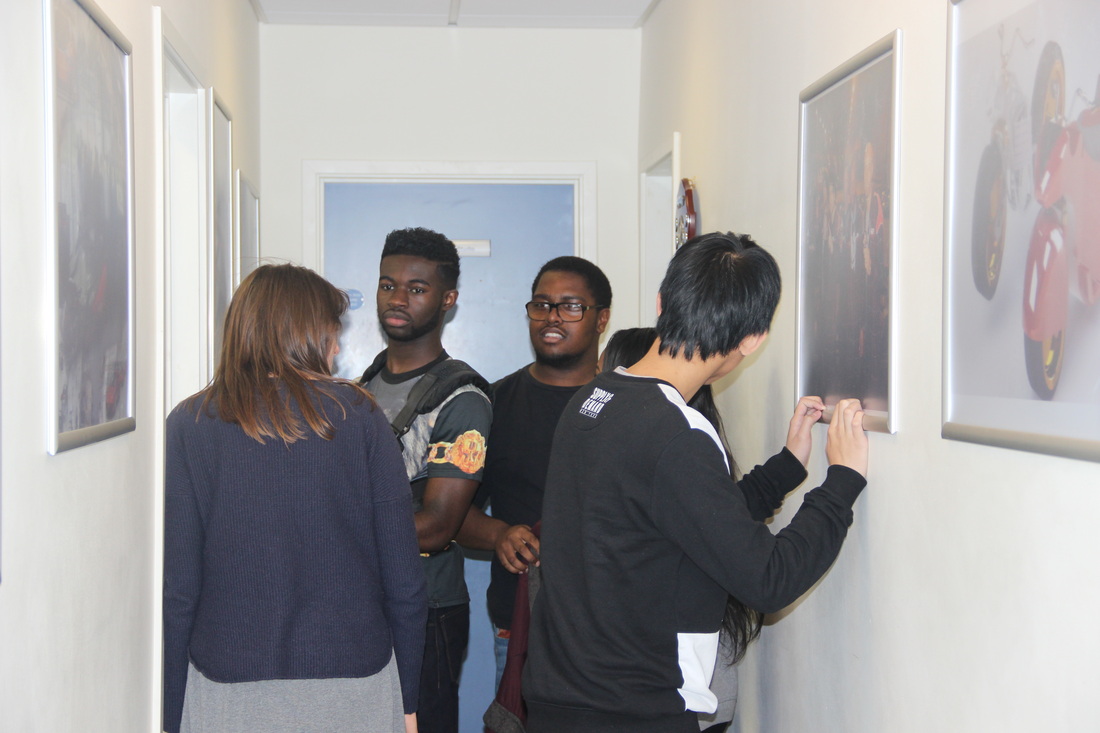
images that were taken on 16th of october...
This section shows what we have been doing in an image and also the equipment we used which was mainly tracking and tripod in these pictures.
|
|
|
|

|
|

|
low angle shots with tripod
This is where I bent over and moved a stick that was connected to the tripod to slowly drift it around (mainly focusing on the college building) and kept it in a low angle so i shortened the tripods legs to the lowest position. I basically used the camera movement of panning to create the establishing shot looking footage.
|
|
|
evaluation:
WHAT WENT WELL... I made quality footage and learnt when doing this shot how to change the brightness and how to put the camera on a good focus. I liked how the stick helped me to move the camera smoothly. This shot was good for establishing shot footages. I learnt how to make the tripod as low as possible. I didnt only video the building but a low angle shot of people to looking down at the camera this connotes power and superiority.
what went wrong... i wanted to do more locations. Also the cameras movement was a bit stiff at times so i had to change the tripod.
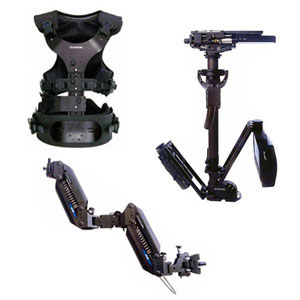
Steady cam
Steadicam is a brand of camera stabilizer mount for motion picture cameras that mechanically isolates it from the operator's movement. It allows for a smooth shot, even when moving quickly over an uneven surface.
|
|
|
|
|
|
|
IN this 'Halloween' trailer at 0.38 seconds we see the use of steadicam where the camera is a bit shaky which happens when steady cam. It creates a scary effect making the audience anxious where to look and think why is the camera moving like that.
EVALUATION:
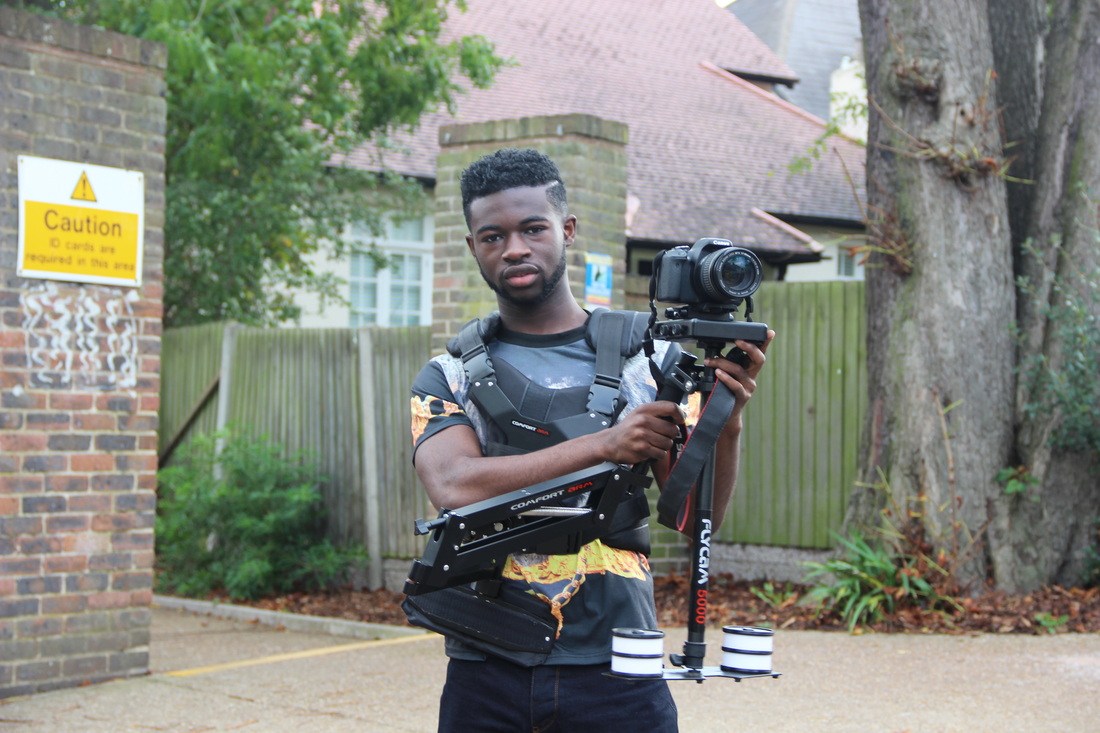
WHAT WENT WELL... i was able to carry the heavy equipment and I believe I done well in trying to keep it stable at times. I was able to move slowly around the gym without the weights clashing when having further practice.
what went wrong... a problem was controlling the weights from not going into another. It was hard to make the camera steady whilst walking. I had to make sure the equipment was on me tightly for safety reasons.
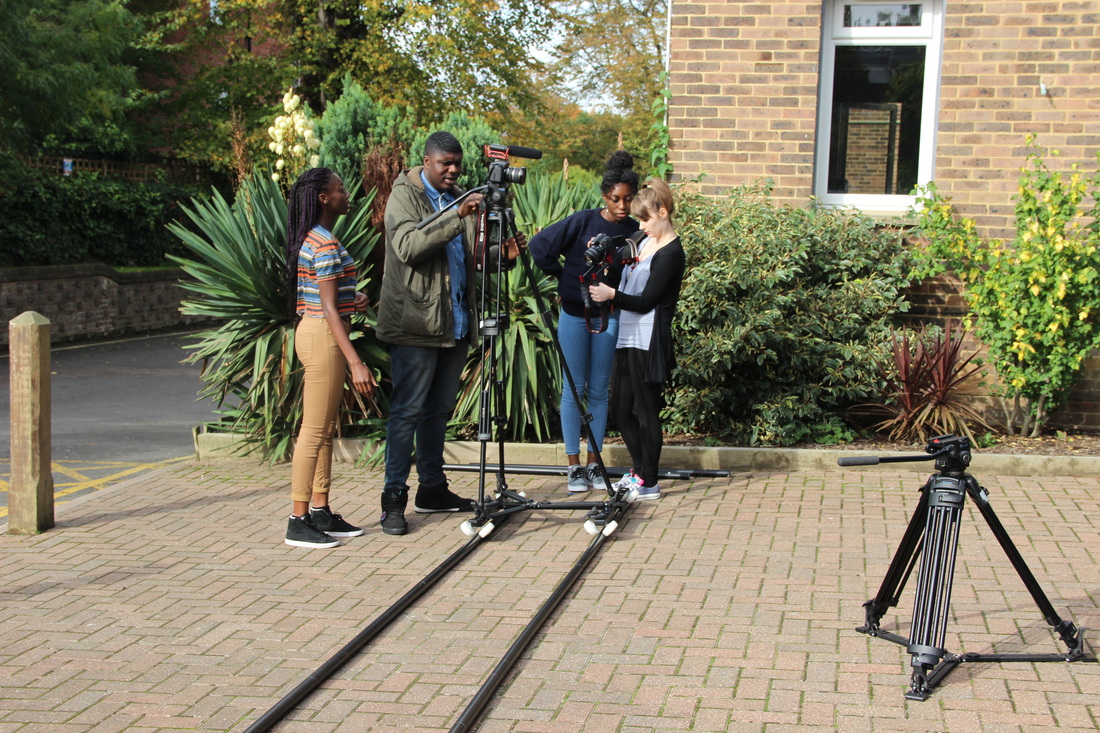
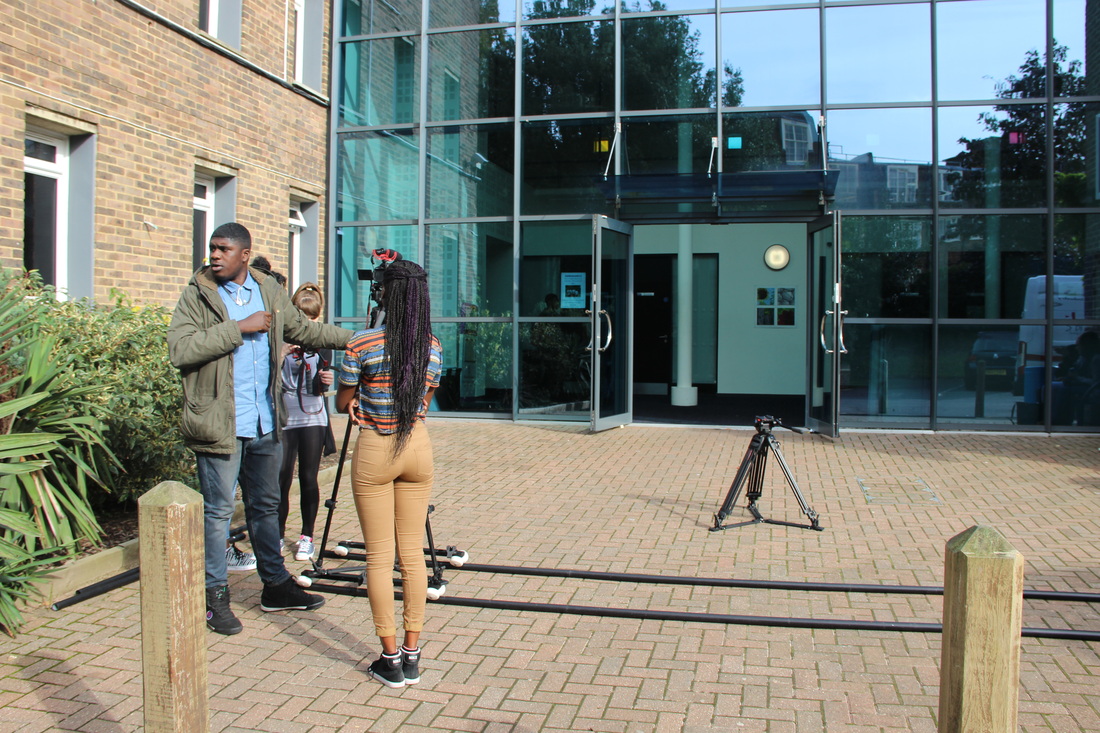
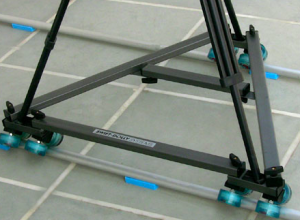
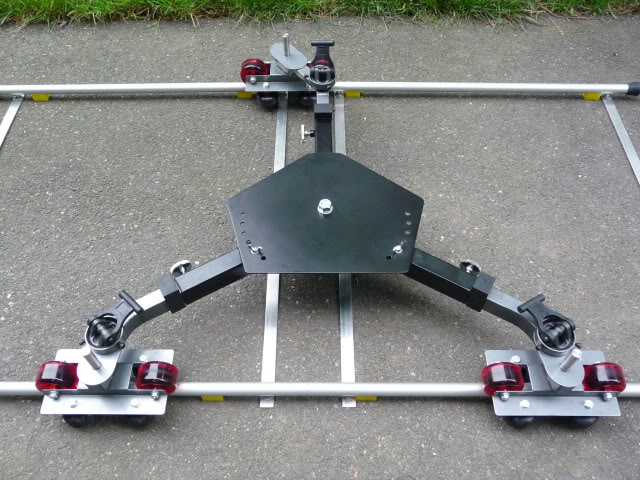
tracking and dolly with tripod
The tracking equipment consists off poles collaborated together to make a long pole for the tripod to be settled on. Enabling it to slide and track peoples fast movement.
|
|
in scream 5 at 0.48 seconds into the trailer there is a tracking shot where the camera comes closer to the woman who is the victim. So slowly on the tracking dolly it moves towards her.
Evaluation:
what went well... the videos for tracking came out good and smooth. I learnt that i needed to be sometimes ahead of the subject i am tracking . Also it was easy to set up.
what went wrong... the poles for tracking were not long enough, there was an extra pole for only one side, I needed to practice different paces of moving the camera with the tripod on the tracking equipment, i sometimes got the tripod and camera of the tracking equipment.
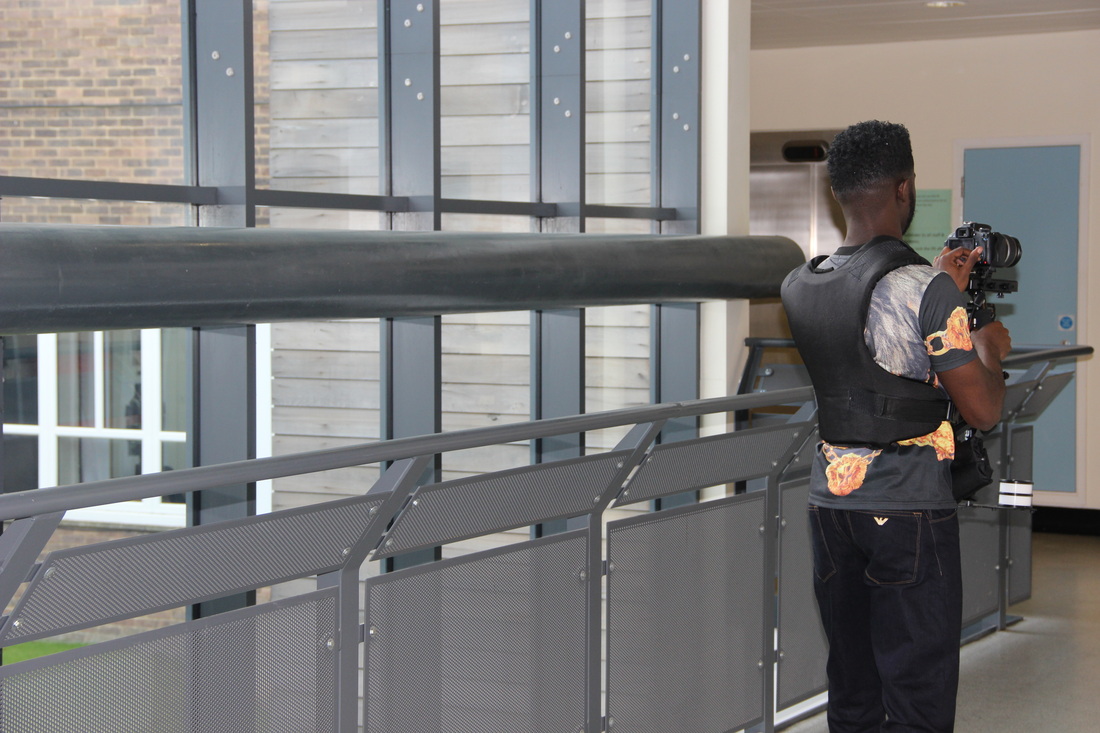
hand held rig
The handheld rig is like steadicam because they do the same purpose which is to create steady footage for filming. The two handles help create balance and control for the camera person. The shoulder pad makes the view more steady and coming from a persons perspective more. For example the camera infront of the camera persons face.
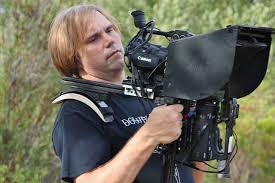
This is how it should be carried.
|
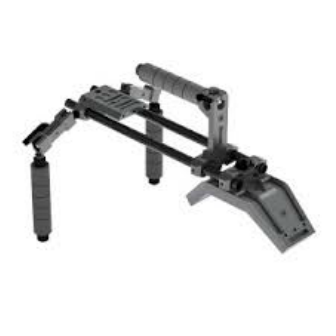
how it looks in animation
|
|
|
This video was very productive because this sort of shot is in my actual trailer where there is a high angle shot of victims running away. A high angle shot was best because we intended to make it look like a CCTV camera. So in general this shot was useful and great practice.
|
IN this video below which is from the horror movie 'I see you' there is a lot of hand held rig usage for some situations which i found it to mainly be a person running away from the antagonist or of the antagonist walking with a iconic prop such as a sledge hammer.
evaluation:
What went well... I was easily able to carry the hand held-rig on my shoulder and got very steady filming with it. The equipment was fine and i liked how i could make it seem I am looking from another persons view for example filming conversations and getting people from a mid shot angle. It was also good for following people around which is shown in one of the videos above. I enjoyed trying camera work with the hand held rig from a persons perspective view but also from a high angle where i could really focus on what's going down below in a steady fix.
What went wrong... I realized THERE COULD BE A PROBLEM WITH HEIGHT AND WHO IS HOLDING THE HAND HELD RIG; fOR EXAMPLE THERE WAS ANOTHER PERSON USING THE CAMERA AFTER ME AND HE WAS TALL SO IT LOOKED WEIRD AND More like a high angle shot.
extras i learnt...
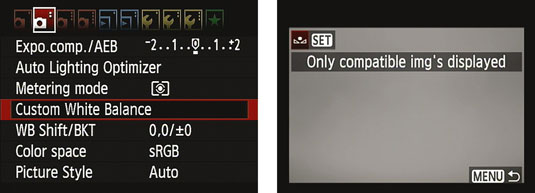
-i learnt how to use white balance
-i learnt how to make the camera darker and lighter by pressing 'menu' then
-I learnt how to make footage go slow motion
-i learnt how to set up the tripod
-I learnt how to put the camera on focus by zooming into someones face for example and turning the a scroll near the lenses to get the focus crystal clear.
|
|
white balance is basically telling the camera what is white in the light you have. This video shows the steps on how to do it on the camera i used.
|
|
|
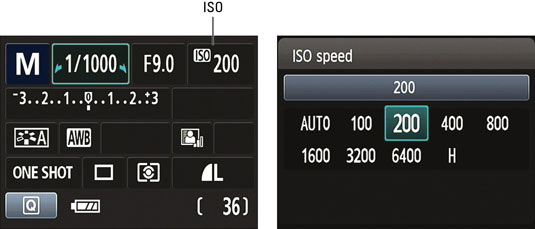
Iso is how sensitive to light the camera is. We decided to keep it on 200 mainly as the limit due it not being too bright. The video gives guidance oin how to do it . The way it works is it gets brighter the higher the number goes-for example: 400 is lighter than 200.
|
